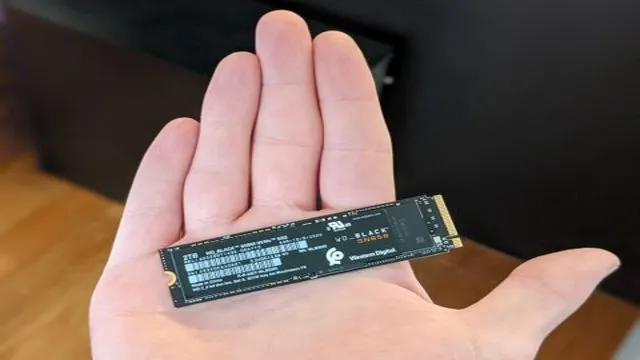
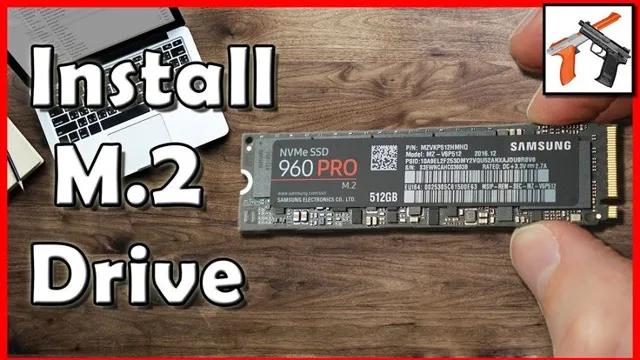
Maximizing Your M2 SSD can be a game-changer for your computer’s performance. If you’re someone who hates waiting for long periods for your programs to load or your computer to start up, then you know how frustrating it can be. Thankfully, there’s a solution to this problem, and it comes in the form of an M2 SSD.
An M2 SSD (Solid State Drive) is a small, powerful storage device that can greatly improve the speed and performance of your computer. However, getting the most out of your M2 SSD requires some optimization. In this blog post, we’ll discuss how you can maximize your M2 SSD’s potential and enjoy lightning-fast performance!
Installation Checklist
If you’ve recently installed an M.2 SSD, congratulations! You’ve made a significant upgrade to your computer’s speed and performance. But now you may be wondering how to use it to its full potential.
Here’s a checklist of things to do after you install your M.2 SSD. First, make sure your BIOS is up to date and that it recognizes your new drive.
Then, you’ll need to transfer your operating system to the new drive using cloning software. Once that’s done, make sure your M.2 SSD is set as the primary boot drive.
It’s also a good idea to enable TRIM support and set the power plan to high performance mode. Finally, you may want to disable hibernation, as it can eat up valuable SSD space. With these steps completed, your M.
2 SSD should be running smoothly, and you’ll notice significantly faster boot times and overall system performance.
Check Compatibility
When it comes to installing new software, it’s important to check compatibility before getting started. This means making sure that your computer meets the minimum requirements needed to run the program. Checking compatibility can save you time and frustration in the long run, as attempting to install software on an incompatible system can lead to errors and crashes.
To check compatibility, start by reviewing the system requirements listed on the software’s website or packaging. Look for information on operating system, processor speed, RAM, and disk space. If your computer meets these requirements, you should be good to go.
If not, you may need to consider upgrading your hardware or finding an alternative software solution. Taking the time to check compatibility can ensure a smooth installation process and a positive user experience.

Backup Data
Backup Data When it comes to protecting your data, having regular and reliable backups is essential. So, before you start backing up, it’s a good idea to create a checklist of everything you’ll need to ensure a successful backup process. To begin with, you’ll need to select a backup storage destination.
This could be an external hard drive, a cloud-based backup service, or a network-attached storage device. Whatever you choose, make sure it has sufficient space to store all your data. Next, decide on a backup schedule that works best for you.
Will you do a full backup each day, or will you opt for incremental backups? Whichever you choose, make sure to stick to a consistent pattern to maintain your backups’ integrity. Lastly, review your backup process regularly. Test backups to make sure they’re restoring correctly, and periodically check that your backup destination is still accessible and functioning correctly.
By following these simple steps, you can ensure your data is protected and recoverable in the event of a system failure or data loss.
Partitioning and Formatting
So, you just installed an M.2 SSD, congratulations! Now the real question is, how do you use it? Firstly, you need to partition and format it. Partitioning your drive allows you to divide it into smaller sections, making it easier to organize your data.
Formatting erases all existing data and sets up your drive to store files. To partition and format your SSD, open Disk Management by searching it in the start menu or right-clicking on the Windows icon and selecting “Disk Management”. Once in Disk Management, select your new SSD, right-click on it, and choose “New Simple Volume”.
Follow the prompts to set the size of the partition and assign a letter to the drive. Finally, select the file system you want, most commonly NTFS, and give your new SSD a name. That’s it, your M.
2 SSD is now ready to use! Just remember to always safely eject the drive before physically removing it from your computer.
Disk Management
When it comes to managing your computer’s storage, partitioning and formatting are two important processes you should be familiar with. Partitioning involves dividing your hard drive into multiple sections or “partitions,” each with its own drive letter. This can be helpful for organizing your data or setting up a dual-boot system with multiple operating systems.
Formatting, on the other hand, is the process of preparing a partition or drive for use by setting up the file system and directory structures. Without formatting, you won’t be able to save data on the partition. Both partitioning and formatting can be done using the built-in Disk Management tool in Windows.
Just be careful not to accidentally delete any important data during these processes. With a little bit of knowledge and caution, though, managing your computer’s storage can be a breeze.
More Efficient Allocation
When it comes to making data storage more efficient, partitioning and formatting are two important techniques to consider. By partitioning a hard drive, you can divide it into separate sections – allowing you to allocate available storage according to your needs while also keeping important files separate from less important ones. Formatting helps ensure that your data is organized and easily accessible, with different file systems tailored to different applications.
When combined, partitioning and formatting can help improve storage performance, reduce the risk of data loss, and make it easier to manage your data over time. Whether you’re working with a personal computer or a large-scale enterprise server, taking the time to partition and format your storage can be an effective way to optimize your data infrastructure.
File System Formatting
When it comes to setting up a new hard drive or storage device, partitioning and formatting are essential steps. Partitioning involves dividing the drive into separate, distinct sections that can each be treated as their own individual drive. This can be useful for organizing different types of files or creating separate backup areas.
Once the drive is partitioned, it’s time to format each individual partition. Formatting involves setting up the file system that will govern how files are organized and stored on the drive. Different file systems have different advantages and disadvantages, so it’s important to choose the right one based on your needs.
Some common file systems include NTFS, which is ideal for Windows-based systems, and FAT32, which is more portable and compatible with a wider range of devices. By properly partitioning and formatting your hard drive, you can ensure that it’s set up to meet your needs and perform at its best.
Optimizing Performance
If you recently installed an M.2 SSD in your system and are wondering how to make the most of its performance, there are a few tips you can follow. Firstly, make sure your motherboard’s BIOS is set to use the M.
2 slot as the primary boot device. This step ensures that your system boots from the SSD, which can dramatically improve boot times and overall performance. Secondly, ensure that the right drivers are installed for the storage device.
This step can help the system take full advantage of the SSD’s capabilities. Thirdly, move frequently used files and applications to the SSD for quick access. This step can be done manually by copying files to the SSD or using dedicated software to automate the process.
By following these tips, you can experience the full benefits of your M.2 SSD’s fast storage performance.
Update Drivers
Updating drivers is an essential part of optimizing your computer’s performance. Drivers are software programs that enable your computer’s hardware to communicate with the operating system. Outdated or missing drivers can cause various performance issues, such as slow startup, freezing, crashing, and other system errors.
To update your drivers, you can either do it manually or use a driver updater software. The former requires you to identify the specific drivers that need updating and downloading the latest versions from the manufacturer’s website. The latter automates the process by scanning your computer, identifying outdated drivers, and updating them with a few clicks.
However, you should be cautious when using third-party driver updaters as some of them may install malware or unwanted programs on your computer. Therefore, it’s crucial to use reputable and reliable driver updater tools that have positive reviews and feedback from other users. Overall, regularly updating your drivers can improve your computer’s speed, stability, and compatibility with new apps and software.
Adjust Power Settings
Adjust Power Settings for Optimizing Performance When it comes to optimizing your computer’s performance, adjusting power settings is a crucial aspect that can really make a difference. By default, most computers are set to balanced power mode, which may prioritize energy efficiency over performance. However, if you’re running resource-intensive software or are a power user, you may want to tweak your power settings to prioritize performance over power efficiency.
You can do this by going to your computer’s Control Panel, selecting Power Options, and then selecting High Performance mode. This will ensure that your computer is running at full power, allowing you to work more efficiently and with greater speed. Keep in mind that this will consume more power and may reduce battery life, so it’s important to consider your use case before making any permanent changes.
With a few tweaks to your power settings, you can take your computer’s performance to the next level!
Conclusion
Congratulations on installing your M2 SSD! You may be feeling like a superhero with your lightning-fast load times and data transfer speeds. But don’t forget to properly utilize your new superpower. Organize your files, delete unnecessary data, and prioritize your most used applications to truly maximize your SSD’s potential.
Now go forth, tech warrior, and conquer your tasks with ease and speed!”
FAQs
What are the benefits of installing an M.2 SSD?
Installing an M.2 SSD will improve your computer’s performance in terms of faster boot times, faster application launch times, and faster data transfer speeds.
How do I check if my computer has an M.2 SSD slot?
You can check your computer’s specifications or motherboard manual to see if it has an M.2 slot. Alternatively, you can open up your computer and physically look for the M.2 slot on the motherboard.
How do I install an M.2 SSD?
To install an M.2 SSD, locate the M.2 slot on your motherboard and insert the SSD into the slot at a 30-degree angle. Secure it with the screw provided and then boot up your computer.
How do I transfer my operating system and files to an M.2 SSD?
You can use cloning software to transfer your operating system and files from your old hard drive to the new M.2 SSD. Some SSDs also come with cloning software included. Alternatively, you can do a fresh install of your operating system on the M.2 SSD and transfer your files manually.
