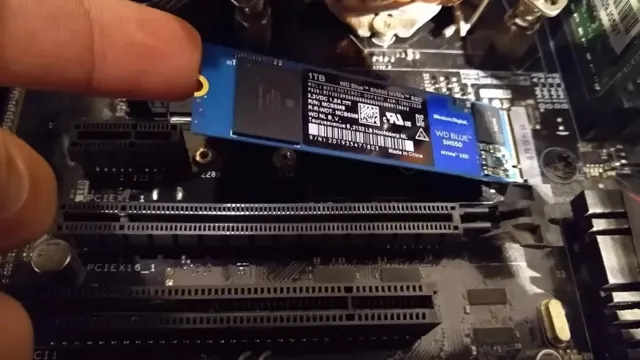
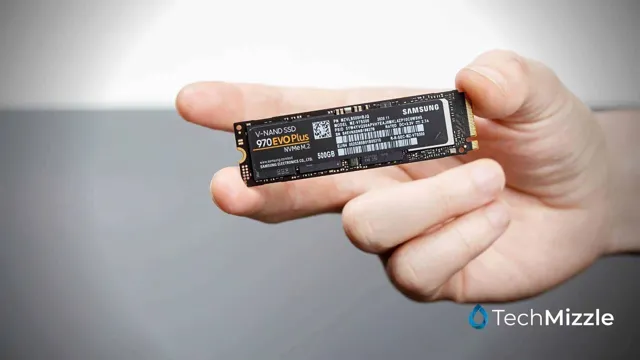
Congratulations! You’ve just installed an SSD in your computer and are ready to start experiencing lightning-fast boot times and blazing-fast performance. But what’s next? Don’t just sit back and enjoy the speed, there are a few things you should do after installing your new SSD to make the most of it. In this blog post, we’ll cover some essential steps to take to ensure your SSD is running smoothly and you’re getting the most out of it.
So, grab a coffee and let’s dive in!
Check SSD Performance
After installing an SSD, you may be eager to see just how much faster your computer is running. One way to check your SSD’s performance is by using a benchmarking tool. These tools run a series of tests that measure read and write speeds, among other things, and generate a score that you can use to compare your SSD’s performance to other similar products.
Some popular benchmarking tools include CrystalDiskMark and AS SSD Benchmark. Running these benchmarks can provide insight into whether your SSD is performing as expected and can help identify any issues that may need to be addressed. Additionally, it can be useful to monitor the health of your SSD over time to ensure it remains in good condition.
Many SSDs come with software that allows you to check the drive’s health, or you can use a third-party tool like SMARTmontools. Regularly checking your SSD’s performance and health can help ensure that you get the most out of your investment.
Run Benchmark Tests
When it comes to checking the performance of your solid-state drive (SSD), running benchmark tests is crucial. Benchmark tests can help you identify any issues with your SSD’s performance and determine whether it’s operating at its maximum potential. Whether you’re a gamer, an IT professional, or just someone who wants their computer to run smoothly, checking your SSD’s performance is a must.
There are several free benchmark testing tools available online that can help you measure your drive’s read and write speeds, access times, and other important metrics. By using these tools, you can gain valuable insights into your SSD’s performance, identify any bottlenecks or issues, and take steps to optimize your system for peak efficiency. So, if you want to ensure that your computer is running at its best, be sure to check your SSD’s performance with benchmark tests!

Enable TRIM Command
SSD Performance If you’re using a solid-state drive (SSD) as your primary storage device, you want to ensure that it’s operating at its full potential. One way to do this is by enabling the TRIM command. TRIM is a built-in feature on most modern SSDs that helps to optimize performance by allowing the operating system to tell the SSD which blocks of data are no longer in use and can be wiped clean.
Without TRIM, the SSD’s performance can degrade over time, leading to slower boot times and longer application load times. Enabling TRIM is a straightforward process that varies depending on your operating system, but it’s definitely worth doing if you want to get the most out of your SSD. So, if you’re noticing your SSD’s performance starting to suffer, try enabling TRIM and see if it helps.
Transfer Operating System and Files
So you’ve installed your new SSD, congrats! But what do you do now? One important step is to transfer your operating system and files from your old hard drive to your new SSD. This can be done in a few different ways, depending on your preferences and technical expertise. One option is to use a disk cloning software, which essentially creates an exact copy of your old hard drive and transfers it to your new SSD.
Another option is to manually install your operating system onto your new SSD and then transfer your files over using an external hard drive or cloud storage service. Whichever method you choose, make sure to backup your important files beforehand and thoroughly research the process to prevent any data loss or unexpected issues. By transferring your operating system and files to your new SSD, you’ll be able to enjoy faster speeds and improved performance.
Clone System Drive
Cloning your system drive is a great way to transfer your operating system and files to a new computer or hard drive. Essentially, it creates an exact copy of your entire system, including the OS, programs, settings, and files. This can be incredibly helpful if you want to upgrade your computer or if you need to replace a failing hard drive.
To clone your system drive, you’ll need to use cloning software that can copy the contents of your current drive to a new one. There are many different options available, but some of the most popular include EaseUS Todo Backup, Acronis True Image, and Macrium Reflect. Once you’ve chosen your software, you’ll need to follow the instructions to clone your system drive.
This can take some time depending on the size of your drive, but once it’s finished, you’ll have a perfect copy of your system ready to use on your new computer or hard drive. So why wait? If you want to transfer your operating system and files quickly and easily, cloning your system drive might be the perfect solution!
Reinstall Operating System
If you’re looking to transfer your operating system and files, you may be wondering what the best method is. Reinstalling your operating system can seem daunting, but there are simple ways to ensure your files transfer over smoothly. Some people prefer to use an external hard drive, while others choose to use cloud storage services like Google Drive or Dropbox.
Another option is to use a migration tool that will transfer your files and settings from your old operating system to your new one seamlessly. Ultimately, the method you choose may depend on your preferences and the amount of data you need to transfer. With the right tools and a bit of patience, you can transfer your operating system and files without much hassle.
Configure SSD for Optimal Performance
Congratulations on installing your new SSD! But wait, there’s more to do to ensure you’re getting the most out of it. To achieve optimal performance, configuring your SSD is essential. You can start by ensuring that your SSD is properly aligned.
This can be achieved by checking if your partitions begin on a sector that is divisible by 4,096 without incurring any offset. It’s also important to disable any defragmentation or Superfetch caching. Instead, enable TRIM command support to facilitate data management and deletion.
Further configurations to consider include disabling unnecessary startup programs and optimizing power settings for maximum performance. Don’t forget to update your drivers as well to optimize communication between the hardware and operating system. These tips should get you on your way to enjoying the full benefits of your new SSD!
Disable Unnecessary Services
When you have a solid-state drive (SSD) in your computer, you want it to perform at its best. One way to do so is to configure it for optimal performance. One thing you can do is to disable unnecessary services that may be running in the background.
These can drain your resources and slow down your overall system performance. Examples of such services are automatic updates, unnecessary software that runs at startup, and unessential network services, just to name a few. By disabling these services, you ensure that more resources are free for your system to use, resulting in better performance overall.
So, take a few minutes to investigate which services are running on your computer and disable those that you don’t need. Your SSD will thank you for it!
Adjust Power Settings
When it comes to optimizing the performance of your SSD, adjusting your power settings is an important step to consider. By default, Windows might not be configured to work best with SSDs, and it’s up to you to fine-tune it. One way to do this is by configuring your power settings to favor performance over energy efficiency.
This change can be made by going to the Power Options settings in Control Panel and selecting the High Performance power plan. This ensures that your SSD is operating at maximum performance levels at all times. Without this change, your SSD may not be performing as efficiently as it should, leading to slower overall speeds and longer loading times.
Another setting that you can adjust is the “Turn off hard disk after” option. SSDs don’t require any time to “spin up” like traditional hard drives, so leaving this option on can actually hinder the performance of your SSD. Instead, it’s recommended to set the value to “never” to ensure that your SSD is always ready to go and operating at the maximum possible speeds.
By making these simple changes to your power settings, you can help ensure that your SSD is performing at its best. This can have a noticeable impact on your overall system speed and save you time waiting for your computer to load files or applications. So why wait? Give it a try and see the difference for yourself!
Update SSD Firmware
If you’re looking to get the most out of your Solid State Drive (SSD), it’s essential to update its firmware regularly. The firmware is the software that controls the SSD and can significantly impact its performance. Updating the firmware can fix bugs and improve overall stability, security, and speed.
It is recommended to check your SSD manufacturer’s website regularly and keep your firmware up to date. Failing to update your firmware can lead to degraded performance or even data loss. So, don’t take any chances and make sure your SSD is always optimized for optimal performance by updating the firmware regularly.
Backup Data Regularly
After installing an SSD, it’s important to backup your data regularly to ensure all your valuable information is safe in case of unexpected issues. An SSD is reliable and fast, but like any electronic device, it’s not indestructible and may fail at any point. Therefore, it’s essential to implement a backup system and create copies of your files and folders regularly.
You can back up your data either on an external hard drive or cloud-based services like Dropbox and Google Drive. The choice of software and service you use primarily depends on your preference, but whichever option you choose, make sure you create a reliable backup strategy to avoid losing vital information. In summary, to get the most out of your SSD, backup data regularly for your peace of mind and as an insurance policy against data loss.
Conclusion
Congratulations, you’ve installed an SSD and now your computer is running faster than a cheetah wearing a jetpack. But don’t stop there! Take full advantage of your SSD’s capabilities by optimizing your settings and keeping your system clean. Just like a finely tuned sports car, your newly souped-up computer deserves proper maintenance and TLC.
Give it some regular love, and it’ll zip along smoothly for years to come. Happy computing!”
FAQs
What are the benefits of installing an SSD?
Installing an SSD can greatly improve your computer’s speed and performance, as it allows for faster boot-up times and quicker access to files.
Do I need to replace my hard drive with an SSD?
While it is not necessary to replace your existing hard drive with an SSD, it is highly recommended in order to fully experience the benefits of faster speeds and improved performance.
How do I transfer my data from my old hard drive to my new SSD?
You can transfer your data using cloning software, which will duplicate your entire hard drive onto the new SSD.
What precautions should I take when installing an SSD?
It is important to ground yourself before handling any computer components, and to ensure that your computer is turned off and unplugged before installing the SSD. Additionally, make sure you have the proper tools, such as a screwdriver, for the installation process.
