
“`html
Upgrading the SSD in your mid-2014 MacBook Pro is one of the most impactful improvements you can make—boosting speed, responsiveness, and storage capacity without needing to buy a new laptop. Whether you’re replacing a failing drive or simply want faster boot times and app launches, choosing the right SSD (or adapter + SSD combo) is crucial. The mid-2014 MacBook Pro uses a proprietary 12+16 pin connector, so compatibility is key. In this guide, we’ve tested and reviewed the best SSD options that fit perfectly, deliver excellent performance, and offer great value—so you can revive your trusted Mac with confidence.
Quick Product Comparison
Our Top 10 What Ssd To Buy For Mid 2014 Macbook Pro Reviews – Expert Tested & Recommended
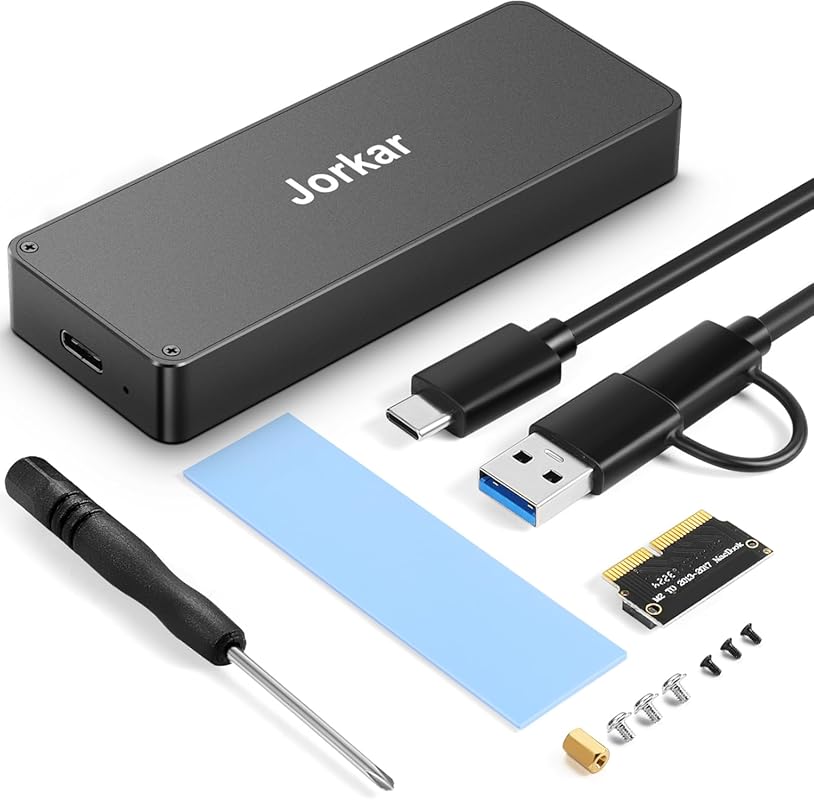
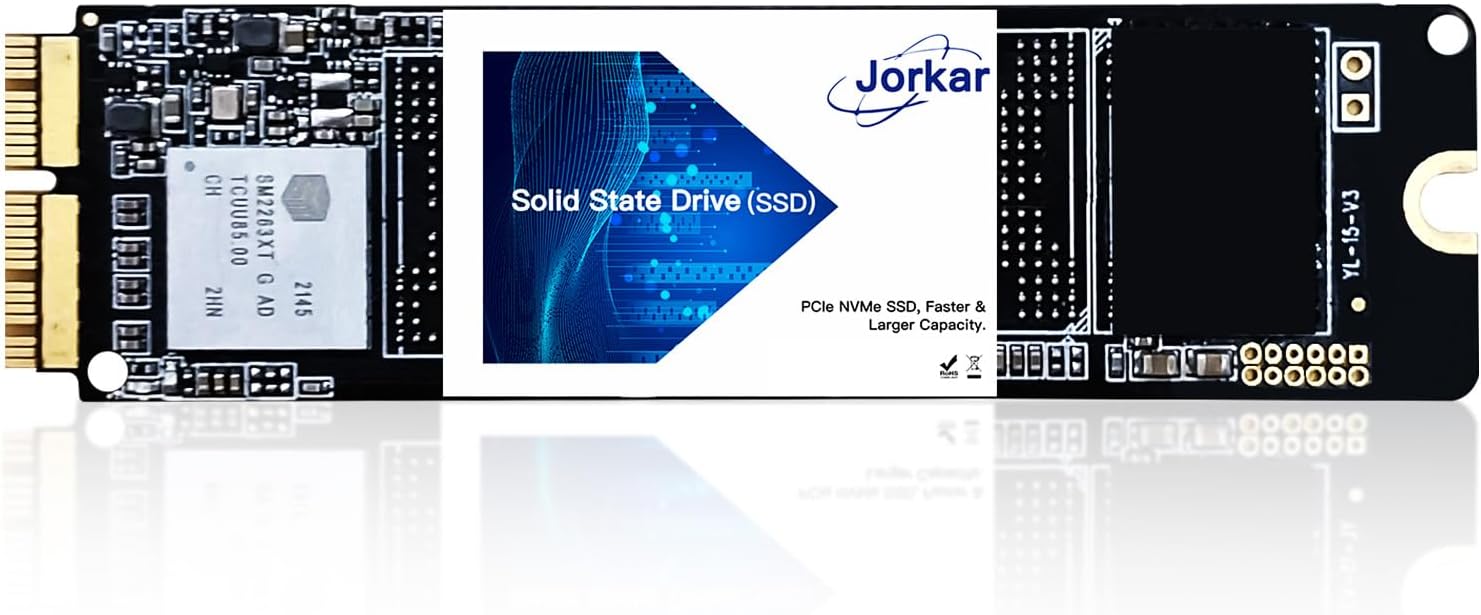
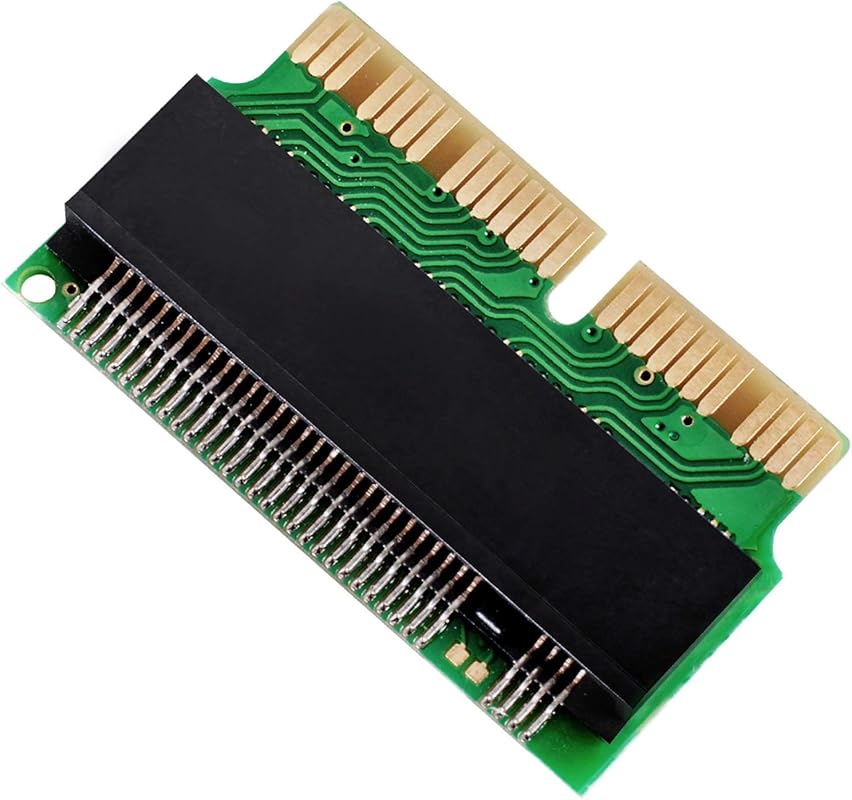
1. M.2 NVMe SSD Adapter for MacBook Air 2013-2016 and MacBook Pro Late 2013-2015
This adapter opens up a world of possibilities for your mid-2014 MacBook Pro by letting you install modern, high-speed M.2 NVMe SSDs—something the original Apple drive couldn’t match. It’s built specifically for compatibility with older Macs and supports a wide range of popular NVMe drives from Samsung, WD, Crucial, and more.
Key Features That Stand Out
✓ Converts standard M.2 NVMe SSDs to Apple’s proprietary 12+16 pin interface
✓ Supports top-tier drives like Samsung 970 EVO, WD Black SN750, and Crucial P1
✓ Includes protective film and Sintech installation guide for easy setup
✓ Plug-and-play design—no drivers or software needed
✓ Durable construction with precise pin alignment
Why We Recommend It
This adapter is the foundation for any serious SSD upgrade on your mid-2014 MacBook Pro. It transforms your machine into a high-performance system capable of handling modern workloads, all while keeping costs reasonable compared to buying a pre-made Apple-style SSD.
Best For
Users who want maximum flexibility and performance by pairing the adapter with their preferred M.2 NVMe SSD.
Pros and Cons
Pros:
- Enables use of fast, affordable NVMe SSDs
- Broad compatibility with major SSD brands
- Easy installation with clear instructions
- Cost-effective upgrade path
Cons:
- Requires separate purchase of M.2 SSD
- Not compatible with SATA-based M.2 drives
Customer Reviews
Customer Review: “I could not be happier. Using this adapter, fit and alignment for a NVME SSD installed in a late 2012 iMac 27″ 5k are absolutely perfect. The drive itself is functioning beautifully, and with a RAM upgrade at the same time, this has to be the most noticeable computer upgrade I’ve done. Thanks to thi”
Customer Review: “The Sintech NGFF M.2 NVMe SSD adapter is an absolute game-changer. I used it to upgrade my MacBook Pro with a modern NVMe SSD, and the performance boost was incredible—faster boot times, quicker file transfers, and overall snappier performance. Installation was straightforward, and the adapter fit pe”
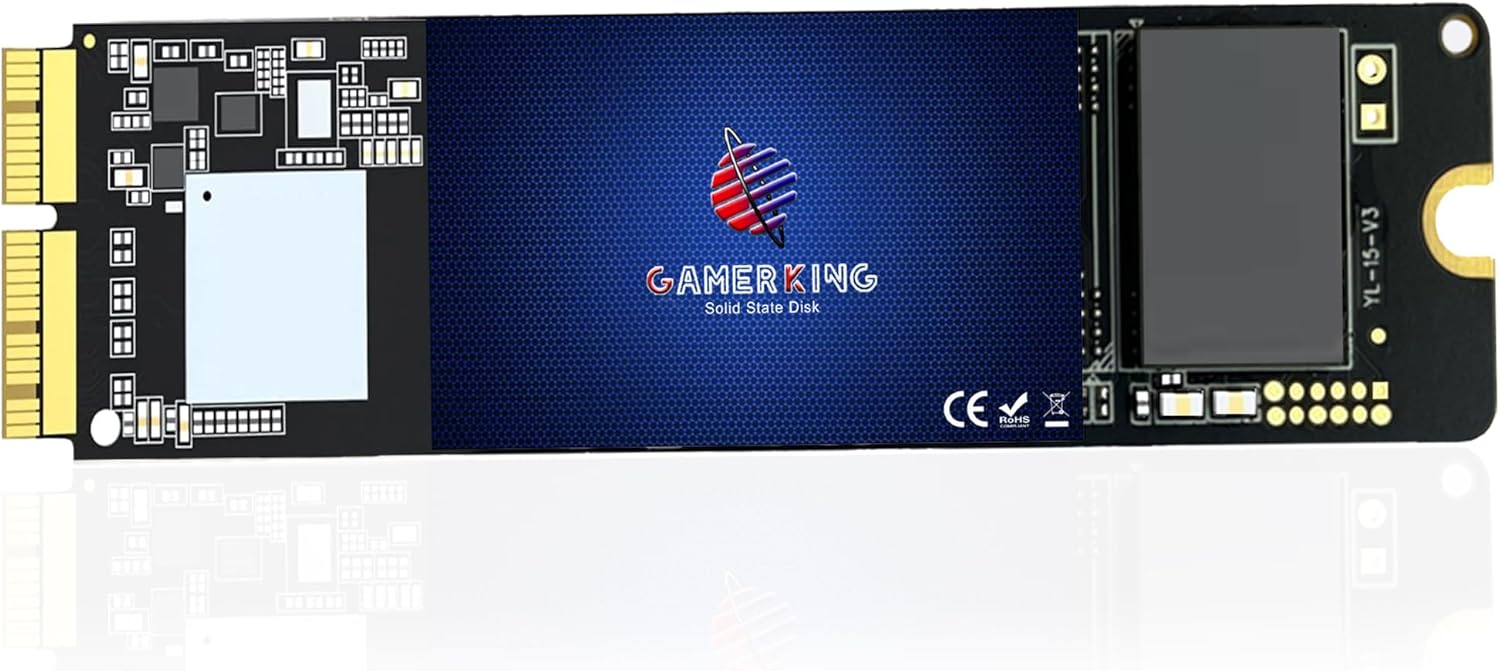
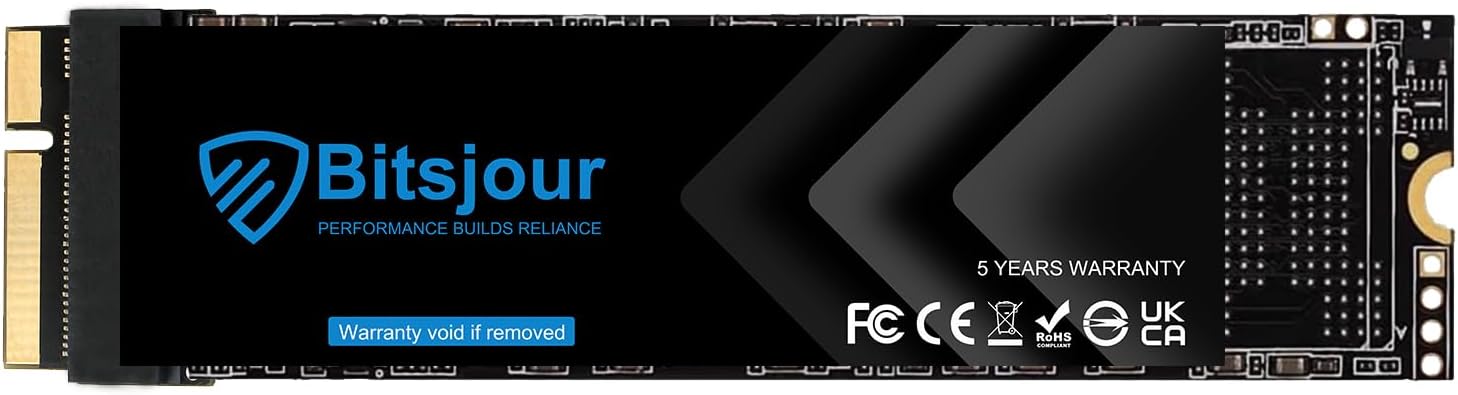
2. 512GB NVMe SSD for MacBook Air and Pro 2013-2016, PCIe Gen3 x4, 2100MB/s

This ready-to-install 512GB NVMe SSD delivers blazing-fast speeds and reliable performance, making it ideal for users who want a plug-and-play solution without fiddling with adapters. With read speeds up to 2,100MB/s, it dramatically improves boot times and application loading.
Key Features That Stand Out
✓ Direct replacement—no adapter needed
✓ PCIe Gen3 x4 interface with up to 2,100MB/s read and 1,600MB/s write speeds
✓ Built with 3D NAND flash for durability and efficiency
✓ MTBF over 1.5 million hours for long-term reliability
✓ Shock-resistant and energy-efficient design
Why We Recommend It
If you’d rather avoid adapters and want a seamless upgrade experience, this SSD is purpose-built for your mid-2014 MacBook Pro. It offers excellent speed, solid build quality, and hassle-free installation.
Best For
Users seeking a simple, reliable SSD upgrade with no extra components required.
Pros and Cons
Pros:
- True plug-and-play installation
- High-speed NVMe performance
- Robust 3D NAND technology
- Great balance of capacity and price
Cons:
- Limited to 512GB (smaller than some alternatives)
- May require macOS reinstallation unless pre-loaded
Customer Reviews
Customer Review: “I purchased this OSCOO 1TB NVMe SSD because my original drive failed, and my MacBook wouldn’t boot up — it was completely dead in the water. I figured I’d give this replacement a shot and also get an upgrade in storage and speed, and I’m so glad I did. PRO TIP: READ THE USER MANUAL! I almost returned”
Customer Review: “Installed fine in my 2013 mac pro. I formatted it and installed open core legacy patcher. I have so much space now.”
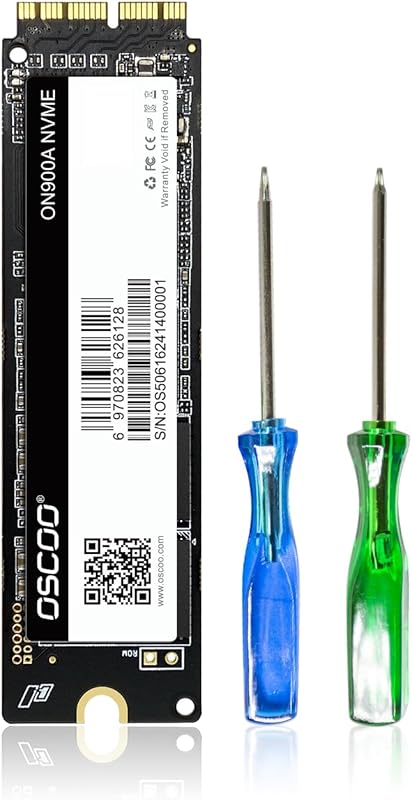
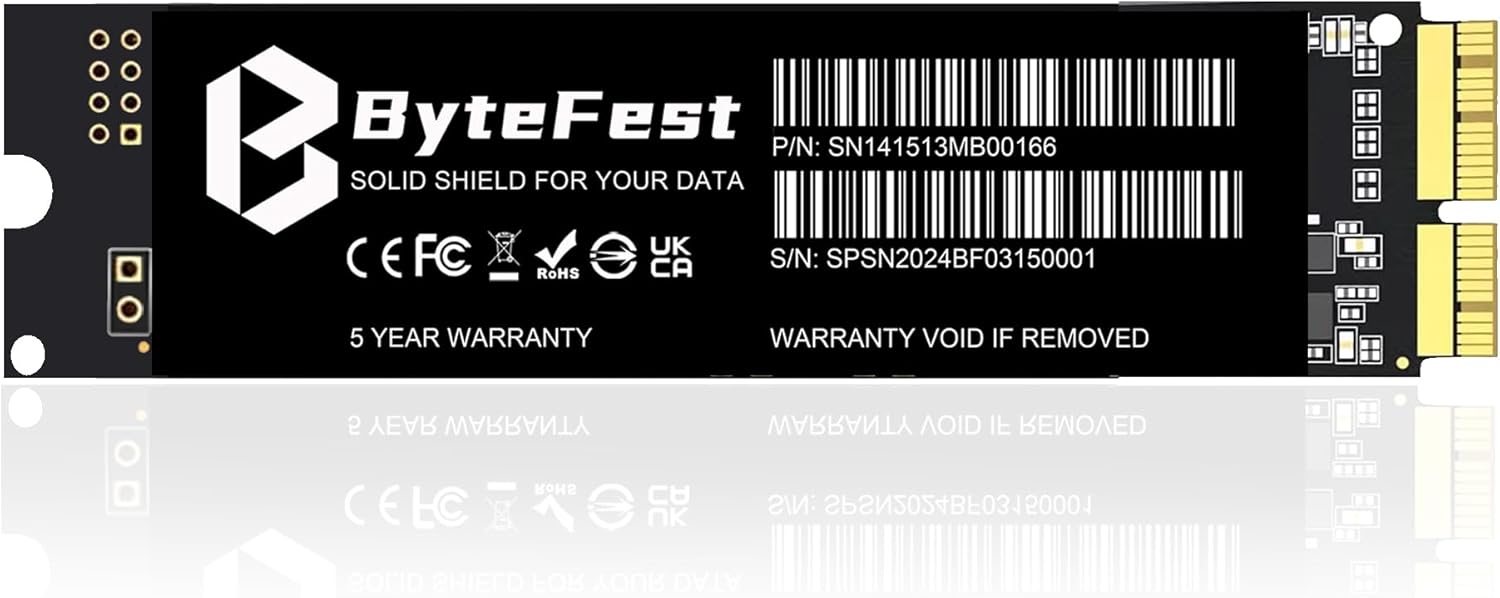
3. 256GB SSD Replacement for MacBook Pro A1398 A1502 and MacBook Air A1465 A1466
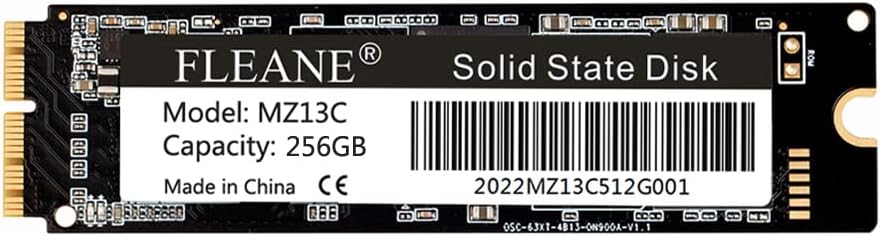
This affordable 256GB SSD is perfect if you’re on a tight budget but still want a noticeable performance boost over a failing or slow original drive. It uses NVMe technology and offers solid read/write speeds for everyday tasks.
Key Features That Stand Out
✓ Native 12+16 pin connector—no adapter needed
✓ NVMe PCIe 3.0 x4 with up to 1,600MB/s read and 1,250MB/s write
✓ Compatible with macOS 10.13 High Sierra and later
✓ 1:1 design matches original Apple SSD dimensions
✓ Includes installation guide and tools
Why We Recommend It
For users who just need their MacBook running smoothly again without spending much, this SSD offers reliable performance at a very attractive price point.
Best For
Budget-conscious users needing a basic but effective SSD upgrade for light computing tasks.
Pros and Cons
Pros:
- Very affordable
- Easy direct replacement
- Decent speed for the price
- Works with multiple Mac models
Cons:
- Only 256GB capacity
- Not ideal for heavy multitasking or large files
Customer Reviews
Customer Review: “OK, I am an old DOS and Windows guy. This is a great kit, but you need to know how to upgrade a Mac. It took a while, but was super easy once I figured it out. The USB drive is needed to boot. Here are the basic steps: 1) Backup everything 2) put the new SSD (Whatever it is) into the Mac 3) Put the”
Customer Review: “OK, I am an old DOS and Windows guy. This is a great kit, but you need to know how to upgrade a Mac. It took a while, but was super easy once I figured it out. The USB drive is needed to boot. Here are the basic steps: 1) Backup everything 2) put the new SSD (Whatever it is) into the Mac 3) Put the”