
My computer was running slower than a snail in molasses! Games took forever to load, and even basic tasks felt sluggish. I knew I needed an upgrade, and after some research, I decided to install a new SSD. This guide will walk you through the entire process, from choosing the right drive to getting your PC running faster than ever. You’ll learn everything you need to successfully install a new SSD and dramatically improve your computer’s performance.
Choosing the Right SSD
Selecting the appropriate SSD is crucial for a smooth installation and optimal performance. This section will guide you through the key factors to consider when choosing your new solid-state drive.
SSD Form Factor
- 2.5-inch SSDs: These are the standard size for laptops and many desktops, fitting into the same bays as traditional hard drives. They are usually SATA or NVMe interfaces, each having its own connection speed and compatibility requirements.
- M.2 SSDs: These are much smaller and newer form factors which plug directly onto the motherboard. They offer faster speeds generally through the NVMe interface but require an available M.2 slot. M.2 drives have different sizes and connector types, so double-check your motherboard’s specifications.
Choosing the correct form factor depends on your computer’s available slots. Consult your motherboard manual if you’re unsure.
Interface Type: SATA vs. NVMe
- SATA SSDs: These use the SATA interface, a more established standard that most motherboards support. They offer good performance, but are generally slower than NVMe drives.
- NVMe SSDs: These utilize the NVMe (Non-Volatile Memory Express) interface, a newer and faster standard designed specifically for SSDs. NVMe SSDs typically offer significantly higher speeds than SATA drives, resulting in faster boot times and application loading, but require an NVMe compatible slot on your motherboard.
NVMe drives are generally more expensive but offer superior speed. Consider your budget and performance needs when choosing between SATA and NVMe.
Storage Capacity
The storage capacity you need depends on your usage. Consider the size of your current operating system, applications, and files. Options range from 256GB to 4TB and beyond.
Preparing for Installation
Before you begin the physical installation, there are several important steps to prepare to make the process easy and safe.
Backing Up Your Data
- Full System Backup: This is crucial. Before undertaking any hardware changes, create a full system backup to an external drive or cloud storage. This safeguards against data loss during the installation process.
- Cloning Your Drive (Optional): Some software allows cloning your existing hard drive to the new SSD, transferring your operating system and all data seamlessly. While convenient, it’s still essential to have a backup in case something goes wrong.
Data loss can be devastating; backing up your data is paramount before starting any hardware upgrade.
Gathering Tools
- Phillips Head Screwdriver: Essential for opening your computer case and securing the SSD.
- Anti-Static Wrist Strap (Recommended): This protects your computer components from static electricity damage.
- SATA Data and Power Cables (If necessary): These are required for connecting a 2.5-inch SATA SSD.
Having the right tools on hand will make the installation process quicker and smoother. An anti-static wrist strap is a worthwhile investment for anyone working with computer components.
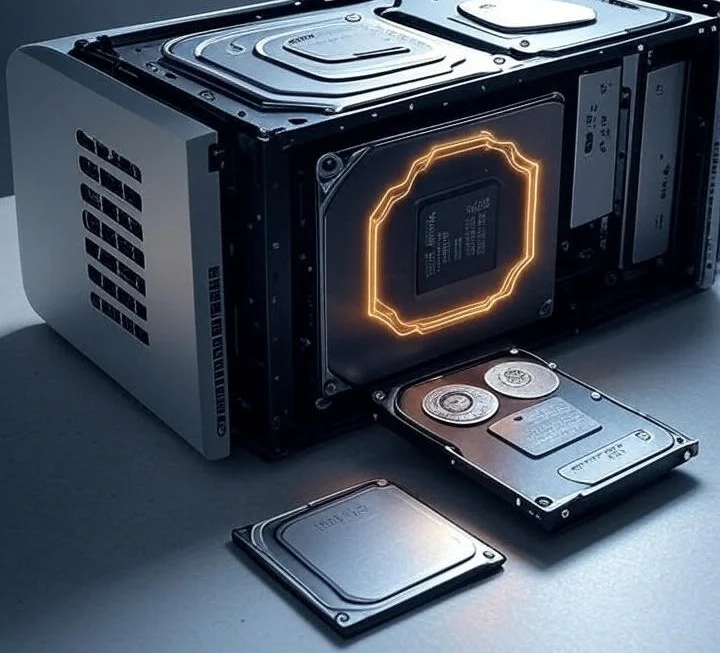
Installing the SSD
This section provides a step-by-step guide to the physical installation of your new SSD into your computer system. Remember to always power down your computer and unplug the power cord before beginning.
Opening the Computer Case
Carefully open your computer case. Consult your computer’s manual for instructions on how to safely remove the side panels. Take photos as you go to remember how everything goes back together.
Installing the SSD
- Locate the SSD Bay: Depending on your computer, you might find available 2.5-inch bays or M.2 slots on your motherboard.
- Connect the SSD: If using a 2.5-inch SATA SSD, connect it using the SATA data and power cables.
- Secure the SSD: Use screws to fasten the SSD to its bay or slot, ensuring a secure fit.
- For M.2 SSDs: Simply slide the drive into the M.2 slot and secure it using the small screw.
Make sure the SSD is properly seated and securely fastened to avoid loose connections or vibrations that can damage the drive.
Closing the Computer Case
Once the SSD is installed and connected, carefully close your computer case, ensuring all panels are securely fastened. Do not force any components.
Setting Up the New SSD
After the physical installation, you’ll need to configure the new SSD within your operating system. This involves partitioning the drive and formatting it to make it usable.
Partitioning and Formatting the SSD
Once you boot your computer, your operating system should automatically detect the new SSD. Using Disk Management (Windows) or Disk Utility (macOS), you will need to partition and format the drive (usually as NTFS for Windows and APFS for MacOS) before you can use it.
Installing an Operating System (Optional)
If you are installing a new operating system on the SSD, you will need a bootable installation media (USB drive or DVD). Follow the instructions provided by your operating system’s installer.
Transferring Data (Optional)
If you’ve cloned your old drive, you’re all set. If not, you can use file explorer to manually copy files from your old drive to the new one. Consider using file synchronization software for a seamless transition and to keep your files updated across both drives. Insert a comparison chart here showing various file transfer methods (e.g., manual copy, cloning, cloud sync) and their respective pros and cons.
FAQ
What if my computer doesn’t detect my new SSD?
Ensure that the SSD is properly connected, that the correct SATA or NVMe cable is used, and that the power supply is sufficient. Check the BIOS settings to see if the drive is listed there. Try a different cable or slot if available. A faulty drive is another possible cause.
Can I install an SSD without losing my data?
Yes, you can usually install a second SSD without affecting your existing data. However, it’s strongly advised to back up your data before making any hardware changes.
What is the difference between SATA and NVMe SSDs?
NVMe SSDs are significantly faster than SATA SSDs due to a more advanced interface. However, they usually require an M.2 slot on your motherboard and are more expensive.
How do I choose the right size SSD?
Consider the size of your current files and applications and plan for future growth. 500GB or 1TB is a popular choice for most users.
What happens if I install the SSD incorrectly?
Incorrect installation can result in the drive not being detected, data loss, or even damage to your computer components. Always follow the manufacturer’s instructions and be cautious.
Can I use my old hard drive and the new SSD together?
Yes, you can use both an HDD (hard disk drive) and an SSD simultaneously in most systems. You can use the SSD for the operating system and frequently used programs, while the HDD can provide additional storage.
My computer is still slow after installing the SSD. What should I do?
Check for other potential bottlenecks, such as insufficient RAM or a slow processor. Also, make sure all your drivers are up-to-date, and consider defragmenting your hard drive (if applicable).
Final Thoughts
Upgrading your PC with a new SSD is a rewarding experience that significantly boosts performance. By carefully following these steps and understanding the different types of SSDs available, you can transform your computer’s speed and responsiveness. Remember to back up your data first! Don’t hesitate to consult your computer’s manual for specific instructions. Now go forth and enjoy a dramatically faster PC!