
If you’re looking to transfer files between your SSD laptop and another laptop, you might be surprised to find that there’s no need to use a USB drive or the cloud. Instead, you can connect your laptops directly to each other for a faster and more efficient transfer process. Not only is this a great way to quickly transfer important files, but it’s also a handy trick to have in your arsenal if you ever need to troubleshoot or access data on another laptop.
In this article, we’ll take a look at the various options you have for connecting SSD laptops and walk you through the steps to get started. So, grab your laptops and let’s get started!
Introduction
If you have an old laptop that has a solid-state drive (SSD) that you would like to connect to another laptop, you are in luck because it is possible. First, you will need to remove the SSD from the old laptop and acquire a SATA to USB adapter. This adapter will allow you to connect the SSD to the other laptop via USB.
Once connected, you can access the files on the SSD and transfer them to the other laptop. This method is convenient if you want to transfer your files quickly, and you do not want to go through cloud storage or an external hard drive. However, it is worth noting that this method is not suitable for replacing the internal drive of the other laptop with the SSD from the old laptop.
In this case, you will need to purchase a compatible replacement drive and clone the old drive’s contents onto it. Overall, connecting an SSD from one laptop to another is relatively straightforward with the right adapter.
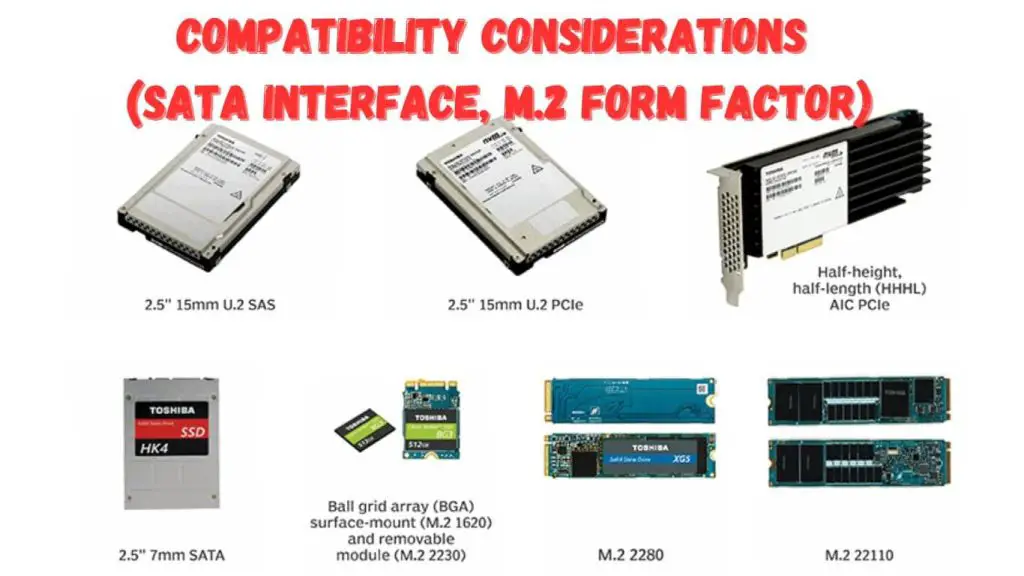
Compatibility Considerations (SATA interface, M.2 form factor)
Before diving into the exciting world of connecting your old SSD to a new laptop, a crucial step is ensuring compatibility. Imagine trying to fit a square peg into a round hole – that’s what can happen if your SSD and the new laptop aren’t on the same page (figuratively speaking).
There are two main types of SSD connections to consider:
- SATA (Serial ATA): This is the veteran of the SSD world, the most common interface you’ll find. SATA connections are typically rectangular and have a flat design. They connect directly to the motherboard using a SATA cable.
- M.2 (NGFF): This sleek, newer design is gaining popularity due to its compact size and faster potential speeds. M.2 SSDs come in various lengths and connect directly to the motherboard via an M.2 slot.
But how do you know which type of SSD you have? Here’s a detective’s guide:
- Physical Inspection: Open the back panel of your old laptop (consult your laptop’s manual for safe disassembly instructions). Look for the SSD – it will be a thin, rectangular plate (SATA) or a small, stick-like module (M.2) connected to the motherboard.
- Laptop Model Information: Most manufacturers list the storage specifications, including the SSD type, on their website or in the user manual. Look for information about your specific laptop model.
By identifying your SSD’s connection type, you can ensure you choose the right method for connecting it to the new laptop. Remember, compatibility is key for a smooth and successful data transfer!
Connecting an SSD to Another Laptop: Efficient Data Transfer Options
Looking to breathe new life into your old SSD by transferring data to a new laptop? Here are some effective methods to achieve this, going beyond simply connecting the SSD directly (which isn’t possible).
1. External Drive Magic: If your old SSD is a SATA type, you can utilize a SATA-to-USB adapter enclosure. This handy tool transforms your internal SSD into a portable external drive. Simply install the SSD in the enclosure, connect it to your new laptop via USB, and access your data for transfer or storage.
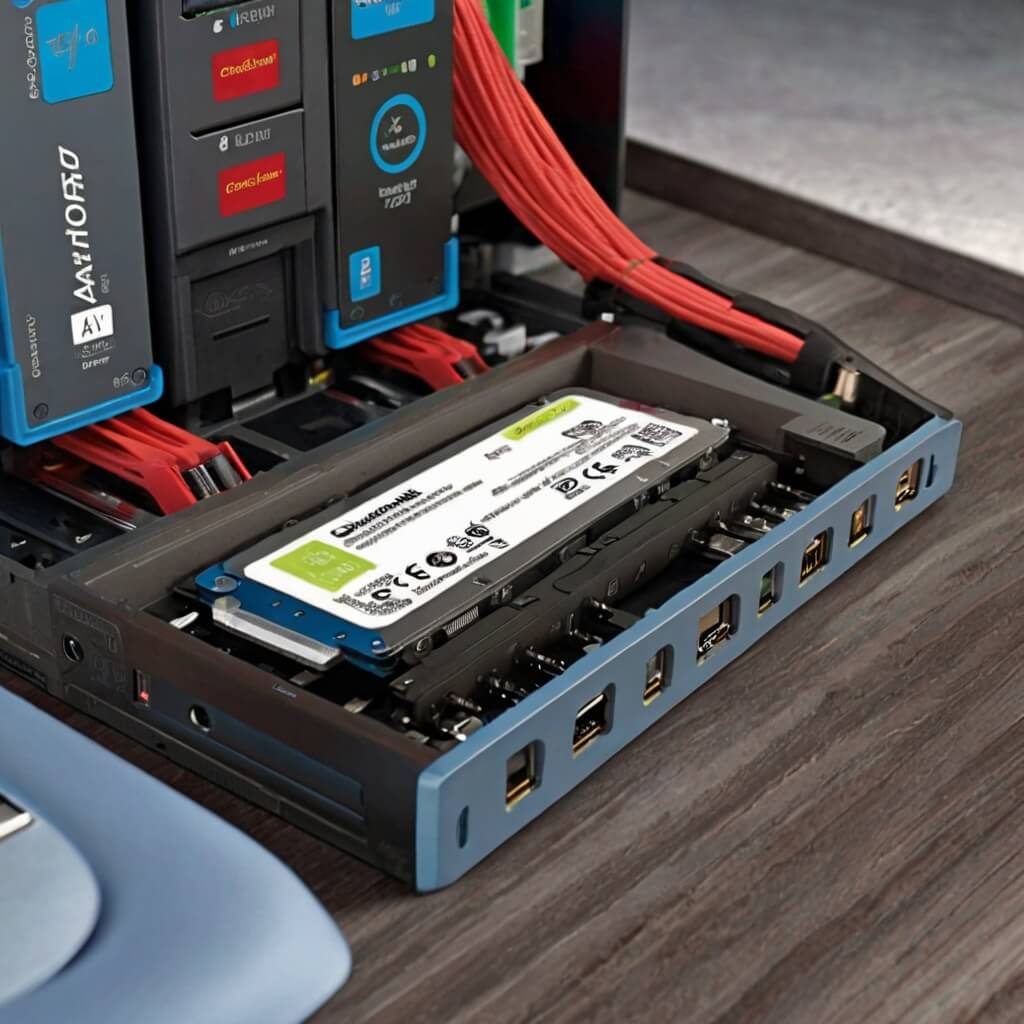
2. Docking Station Powerhouse: Docking stations offer a multi-functional approach. Some models come equipped with dedicated bays for connecting and transferring data from hard drives and SSDs, often using a SATA connection. This method not only facilitates the SSD transfer but also provides additional benefits like:
- Port Expansion: Many docking stations boast a variety of ports, including HDMI for monitors, multiple USB ports for peripherals, and even Ethernet for wired internet.
- Monitor Magic: Extend your workspace and boost productivity by connecting an external monitor through the docking station.
- Convenience King: Simply connect your laptop to the docking station using a single cable, and you’re instantly connected to all your peripherals.
3. Cloning for a Seamless Transition: For those seeking a complete system transfer, disk cloning software is the answer. These programs create an exact copy of your old SSD, including the operating system, programs, and data, and transfer it to the new SSD. Popular options include Macrium Reflect and EaseUS Todo Backup. This method offers a hassle-free transition with minimal configuration required on the new laptop.
4. Transferring Specific Files: If you only need to transfer specific files from your old SSD, you can explore other options depending on the setup. These might include:
- Data Transfer Cable (with Caution): While not directly connecting the SSD itself, if your old SSD is already housed in an external enclosure, a data transfer cable can be used to connect the external drive to the new laptop for file transfer.
- Shared Folders or Cloud Services: Utilize shared folders on a network or cloud storage services like Dropbox or Google Drive to transfer specific files between the laptops. This method requires an internet connection for both laptops.
By choosing the method that best suits your needs, you can efficiently transfer data from your old SSD to your new laptop and maximize the use of your valuable storage component.
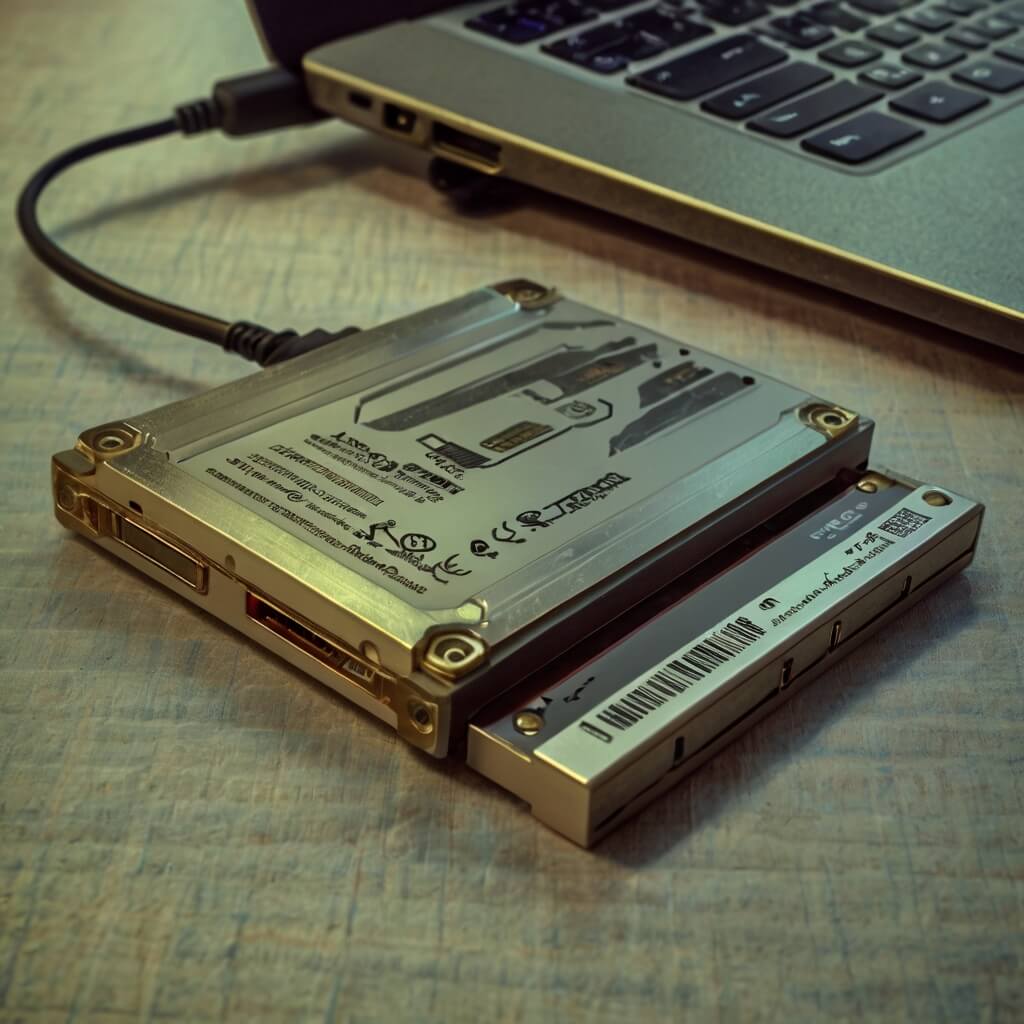
Method 1: Directly Connecting the SSD (SATA to USB adapter enclosure)
This method brings new life to your old SATA SSD by transforming it into a portable external drive! However, it’s important to note that this method only works with SATA SSDs.
Here’s where a handy tool called a SATA to USB adapter enclosure comes in. Imagine a little external case with a built-in SATA connection point inside. This enclosure essentially houses your old SSD and provides a USB connection for easy use with any laptop.
Ready to breathe new life into your SSD? Let’s walk through the steps:
1. Prepare the Tools:
- Your trusty old SATA SSD
- A SATA to USB adapter enclosure (ensure compatibility with your SSD size)
- A screwdriver (check your laptop’s manual for specific type)
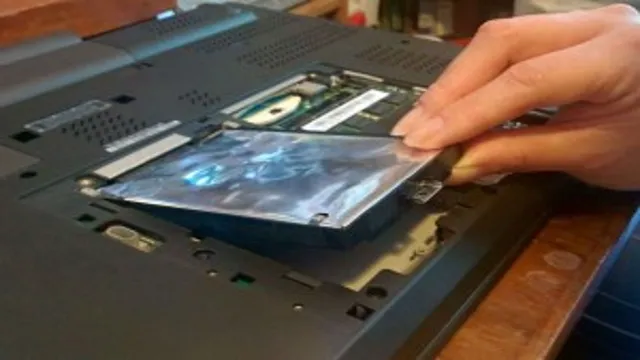
2. Open Up Your Old Laptop (With Caution!):
- Consult your laptop’s manual for safe disassembly instructions. Locate the screws securing the back panel and carefully remove them.
3. Gently Extract the SATA SSD:
- Identify the SSD (rectangular plate) and disconnect any cables attached to it. Carefully unscrew or unclip the mounting brackets holding it in place.
4. Suit Up Your SSD in its New Home:
- Open the SATA to USB adapter enclosure and follow the manufacturer’s instructions for installing your SSD inside. Typically, it involves sliding it into a designated slot and securing it with screws.
5. Connect and Power Up!
- Close the enclosure and connect the provided USB cable from the enclosure to a free USB port on your new laptop. Power on the laptop.
6. Formatting Might Be Needed (Maybe):
The new laptop might recognize the SSD automatically. However, depending on the formatting style used on your old laptop and the new laptop’s operating system, you might need to format the SSD before you can access it. Formatting erases all data on the drive, so be sure to back up anything crucial before proceeding (discussed in later sections).
Congratulations! You’ve successfully given your old SATA SSD a new lease on life as an external drive for your new laptop. Now you can transfer files, store extra data, or even use it to back up your new system!
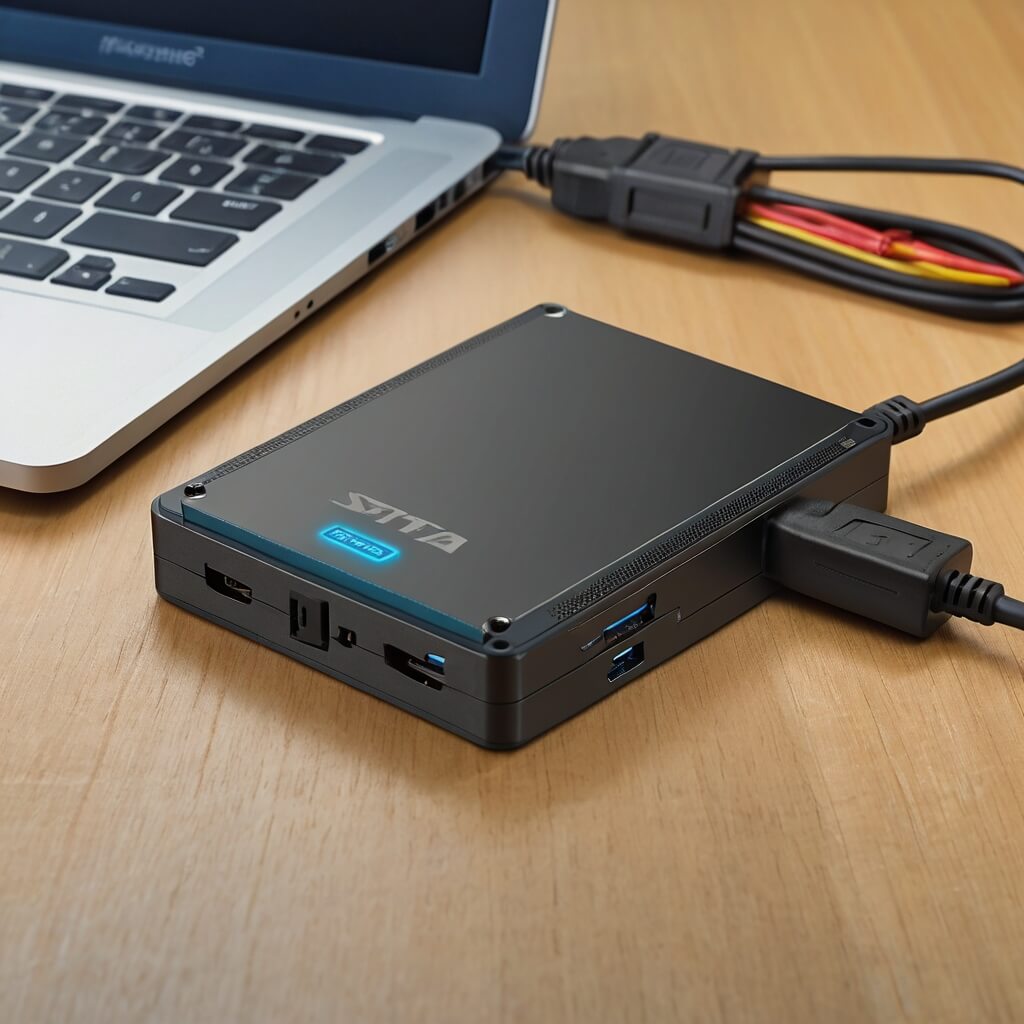
Method 2: Transferring Data via a Docking Station (universal docking station)
Docking stations are the ultimate multi-taskers in the tech world. Imagine a central hub that connects your laptop to a variety of devices with a single click. But did you know some docking stations can also be your best friend for transferring data from an old SSD?
Here’s the deal: certain docking stations come equipped with dedicated bays specifically designed for connecting and transferring data from hard drives and SSDs. These bays often utilize a SATA connection, making them ideal for most SATA SSDs.
So, how does this method benefit you? Well, beyond facilitating the SSD transfer, docking stations offer a plethora of advantages:
- Port Expansion Powerhouse: Many docking stations boast a variety of ports – HDMI for connecting an external monitor, multiple USB ports for peripherals, and even an Ethernet port for wired internet access. This eliminates the need to constantly juggle cables for various devices.
- Monitor Magic: Struggling with a single laptop screen? Docking stations often allow you to connect an external monitor, extending your workspace and boosting productivity.
- Convenience at its Finest: Simply connect your laptop to the docking station using a single cable, and voila! You’re instantly connected to all your peripherals and ready to go. No more hunting for individual cables every time you want to use your laptop.
If you’re looking for a solution that goes beyond just transferring data from your old SSD, a docking station with an SSD bay might be the perfect all-in-one option for your new laptop.
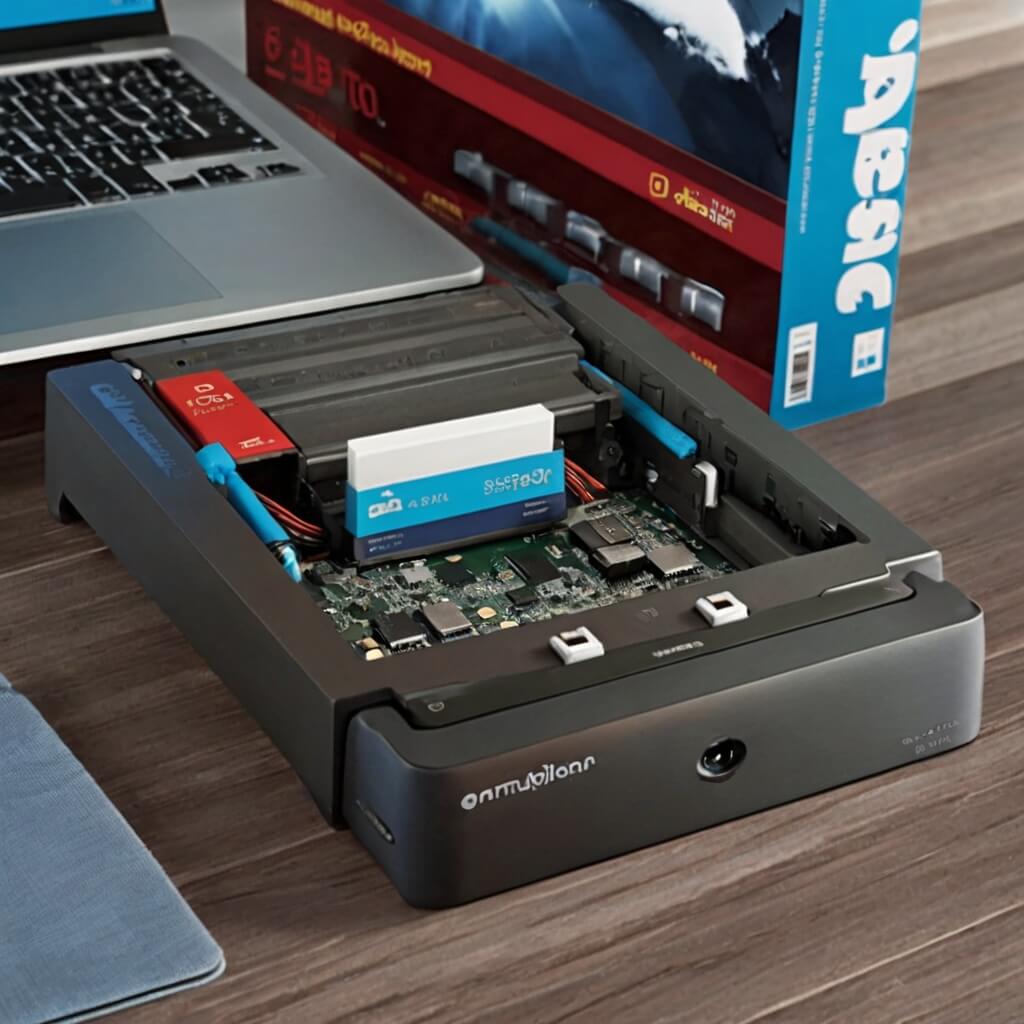
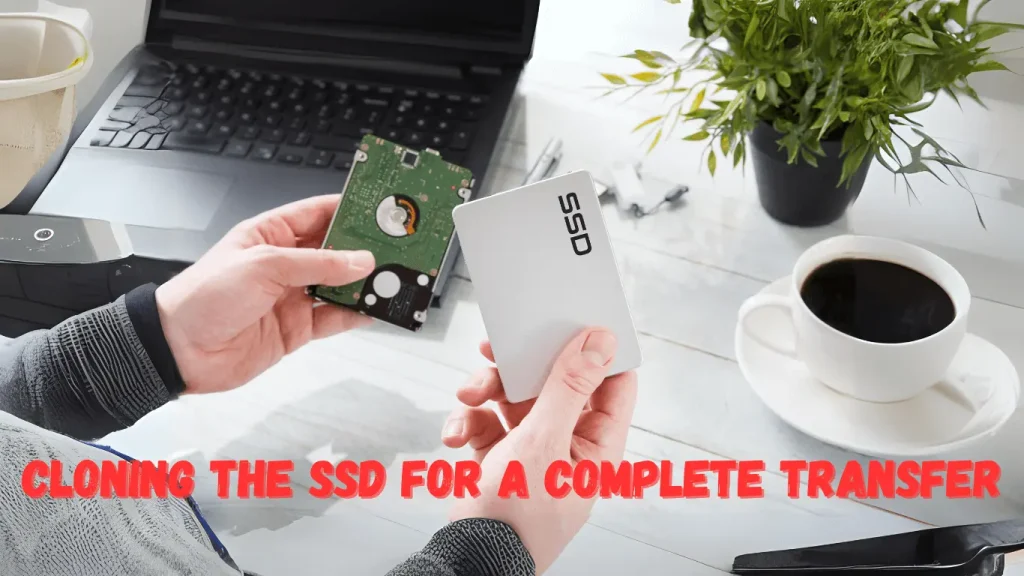
Method 3: Cloning the SSD for a Complete Transfer (disk cloning software, Macrium Reflect, EaseUS Todo Backup)
This method is the ultimate game-changer for those seeking a seamless transition to their new laptop. Cloning your old SSD allows you to transfer your entire operating system, programs, and data in one fell swoop! Imagine booting up your new laptop and finding everything exactly as you left it on the old one – applications, files, and settings – all ready to go.
To achieve this cloning magic, you’ll need the help of a special tool called disk cloning software. These programs create an exact copy of your old SSD, including all the data it contains, and transfer it to the new SSD. Popular options include Macrium Reflect and EaseUS Todo Backup, both offering free and paid versions with varying features.
Here’s a simplified breakdown of the cloning process:
- Download and Install the Disk Cloning Software: Choose your preferred software and download it from the official website. Follow the installation instructions carefully.
- Prepare for the Clone: Connect both your old and new SSDs to your current laptop. Ensure the new SSD has enough storage capacity to hold all the data from the old one.
Crucial Backup Step! Before proceeding, it’s highly recommended to back up any critical data that isn’t already backed up elsewhere. Cloning creates a copy, but it doesn’t replace your original data.
- Let the Software Guide You: Launch the disk cloning software and follow the on-screen instructions. Typically, you’ll select the old SSD as the source drive and the new SSD as the destination drive. The software will guide you through the cloning process, which might take some time depending on the amount of data being transferred.
- Patience is a Virtue: While the cloning software works its magic, resist the urge to interrupt the process. Let it complete for a smooth and error-free transfer.
- Power Up the New Laptop (Maybe): Depending on the software and your setup, you might be able to directly boot your new laptop from the cloned SSD after the process is complete. Consult the software’s documentation for specific post-cloning instructions.
By cloning your old SSD, you’ve essentially replicated your entire system onto the new laptop. This method is ideal for those who want a hassle-free transition with minimal configuration required on the new machine. Remember, a little planning and a reliable disk cloning software can save you hours of reinstalling programs and setting up your new laptop!
Alternat Method Transfer between two Laptop (if both laptop are operational)
Here are some alternative methods for transferring data between two operational laptops:
1. Network Transfer (Using a Shared Folder or Network Drive):
- This method is ideal for transferring large amounts of data over a local network connection. Both laptops need to be connected to the same Wi-Fi network or wired to a router.
- Setting Up a Shared Folder:
- On one laptop (source laptop), identify the folder containing the data you want to transfer.
- Right-click on the folder and select “Properties.”
- Go to the “Sharing” tab and click “Advanced Sharing.”
- Check the box for “Share this folder” and assign appropriate read/write permissions.
- Click “Apply” and “OK” to save the changes.
- Accessing the Shared Folder:
- On the other laptop (destination laptop), open File Explorer.
- In the network navigation pane, look for the source laptop’s name or workgroup name.
- Click on the source laptop name to see the shared folders.
- Double-click on the desired shared folder to access the data and copy/move files to your preferred location.
- Setting Up a Shared Folder:
2. Direct Transfer via USB Cable (Using a USB Flash Drive or External Hard Drive):
- This method is convenient for smaller data transfers and doesn’t require a network connection. You’ll need a USB flash drive or external hard drive with enough storage capacity for your data.
- Copy the desired files and folders from the source laptop to the USB drive.
- Safely eject the USB drive from the source laptop.
- Insert the USB drive into a USB port on the destination laptop.
- Open File Explorer and navigate to the USB drive.
- Copy/move the files from the USB drive to your preferred location on the destination laptop.
3. Bluetooth Transfer (Limited Range and Speed):
- This method is suitable for transferring a few small files over short distances. Both laptops need to have Bluetooth enabled and paired with each other.
- On the source laptop, right-click on the desired files and select “Send” > “Bluetooth device.”
- Choose the destination laptop from the list of available devices.
- Accept the file transfer on the destination laptop.
Choosing the Right Method:
- Network Transfer: Best for large data volumes and easy access from both laptops.
- USB Transfer: Convenient for smaller data sets and doesn’t require a network connection.
- Bluetooth Transfer: Limited by range and speed, suitable for small files over short distances.
Additional Tips:
- Ensure both laptops have the latest drivers installed for optimal network or Bluetooth connectivity.
- Consider compressing large files before transfer to reduce file size and transfer time (especially for network transfer).
- Back up important data before transferring to avoid accidental loss.
Understanding the Connection Process
Understanding the connection process can be crucial for users who are trying to establish a network connection. In simple terms, the process of connecting devices involves creating a link between them to allow communication between different devices. This can be achieved through a variety of methods, including cables, Wi-Fi, Bluetooth, or cellular data.
By establishing a connection, devices can share data, transfer files, and perform various tasks with ease. The connection process can be challenging for beginners, but with the right knowledge, it can be done with ease. With a little bit of patience and practice, anyone can establish connections between their devices, making work more comfortable and efficient.
Preparing the SSD Laptop
Preparing your laptop for an SSD upgrade can be an exhilarating and rewarding experience. Not only can you increase the speed and efficiency of your laptop, but you’ll also have more space to store all your important files and documents. In this blog post, we’ll guide you through the steps you need to take to prepare your laptop for an SSD installation.
From backing up your files to selecting the right SSD, we’ll cover everything you need to know to make your SSD upgrade a success. So, grab a cup of coffee and let’s get started!
Streamline Your Transfer: Mastering File Copying Between Laptops
Moving files and folders between laptops doesn’t have to be a chore. With a few strategies and the right tools, you can streamline the process and ensure your data reaches its new home efficiently.
Popular Transfer Methods:
- External Hard Drive: This trusty workhorse offers a simple and reliable solution. Connect the external drive to one laptop, copy your desired files and folders, and then connect it to the other laptop for transfer. Remember to choose an external drive with enough storage capacity for your data needs.
- Cloud Storage Services: Embrace the convenience of the cloud! Upload your files to a cloud storage platform like Dropbox or Google Drive. With an internet connection, you can then access and download them onto your new laptop. Cloud storage also provides additional benefits like:
- Accessibility Anywhere: Access your files from any device with an internet connection, offering ultimate flexibility.
- Automatic Backup: Certain cloud storage services offer automatic backup features, providing peace of mind and an extra layer of protection.
- Network Transfer (LAN Cable): If your laptops are located on the same network, you can utilize a wired connection for faster transfer speeds. This method involves setting up a shared folder on one laptop and accessing it from the other via the network.
Choosing the Right Method:
- Data Volume: For large datasets, external hard drives or network transfers might be faster, especially if your internet connection speed is limited.
- Convenience: Cloud storage offers unmatched accessibility and ease of use, but requires a stable internet connection.
- Security: Cloud storage providers typically employ robust security measures, but consider your specific needs for sensitive data.
Remember: Before deleting any files from the original laptop, always double-check and verify that they have been successfully copied and are accessible on the destination laptop. Consider using a file comparison tool to ensure complete accuracy, especially for critical data.
Bonus Tip: Utilize folder structures to your advantage! Organize your files and folders logically before transferring them. This will save you time and frustration when searching for specific files on the new laptop.
By understanding the different methods and choosing the one best suited to your needs, you can master file copying and ensure a smooth data transfer experience between your laptops.
Cloud Storage: Your Secure and Effortless Data Bridge Between Laptops
Gone are the days of lugging around external drives or struggling with tangled USB cables for data transfer. Cloud storage services offer a modern, convenient, and secure solution to move your files and documents between laptops.
Here’s how cloud storage simplifies data transfer:
- Accessibility Anywhere, Anytime: Upload your data to the cloud storage platform from your source laptop. With an internet connection, you can then access and download these files from your new laptop, phone, tablet, or any other authorized device.
- Effortless File Management: Forget the hassle of physically transporting storage devices. Cloud storage provides a centralized location for your data, making it easy to manage and access your files from any device.
- Seamless Collaboration: Share folders and documents with colleagues or family members who also have accounts on the same cloud storage platform. This facilitates real-time collaboration and easy access to shared files.
Popular Cloud Storage Options:
- Dropbox: A pioneer in cloud storage, Dropbox offers a user-friendly interface and free storage plans with upgrade options for larger data needs.
- Google Drive: Integrated seamlessly with other Google services like Gmail and Docs, Google Drive provides a generous 15GB of free storage and automatic file synchronization across devices with your Google account.
- Microsoft OneDrive: Integrated with Microsoft Office products, OneDrive offers free storage with upgrade options and tight integration with the Windows ecosystem.
Choosing the Right Cloud Storage Service:
Consider factors like free storage space, paid plan options, ease of use, and any specific features you require (e.g., file versioning, advanced security). Most cloud storage providers offer free trials, so you can test different options before committing.
Cloud Storage: The Secure Solution
Cloud storage platforms prioritize data security. They employ robust encryption measures to ensure your files are protected while in transit and at rest on their servers.
With its convenience, accessibility, and security features, cloud storage is a compelling option for transferring data between laptops in today’s digital world. So ditch the cables and embrace the ease of cloud storage for your next data transfer task!
Conclusion
In conclusion, connecting an SSD laptop to another laptop is like connecting two superheroes with an unbreakable bond. The data transfer speeds are faster than a speeding bullet and the storage capacity is larger than the Batcave. With this connection, you’ll have the power to conquer any task and save the world from slow file transfers.
FAQs
What is an SSD and how is it different from a traditional hard drive?
An SSD (Solid State Drive) is a type of storage device that uses flash memory to store data, while a traditional hard drive uses spinning disks. The main difference is that SSDs are much faster and more reliable than traditional hard drives.
Can I connect my laptop’s SSD to another laptop?
While it’s technically possible to physically remove the SSD from one laptop and install it into another laptop, it’s not recommended as it can cause compatibility issues and potentially damage your laptop’s hardware.
How can I transfer data from my laptop’s SSD to another laptop?
You can transfer data between laptops in several ways including using an external hard drive or USB flash drive, sharing files over a network, or using cloud storage services such as Dropbox or Google Drive.
Are there any specific cables or adapters required to connect an SSD from one laptop to another?
Yes, you will need a SATA to USB adapter or cable which will allow you to connect the SSD to another laptop via USB port. Some adapters also come with cloning software that allows you to make an exact copy of your data from one drive to another.