Ready to upgrade to an SSD but don’t know where to start? Installing an SSD into a bay kit is a great way to enhance your computer’s speed and performance. And the best part is, it’s easier than you think. With just a few simple steps, you can have your SSD installed and ready to go in no time.
In this blog, we’ll guide you through the process of installing an SSD into a bay kit, providing you with everything you need to get started. We’ll cover the tools and equipment required, explain the steps involved, and offer useful tips to ensure a smooth and successful installation. So, put on your tech hat and let’s get started!
Prepare Your Work Area
When it comes to installing an SSD drive, the first step is to prepare your work area to ensure that you have everything you need. This is crucial to ensure that your installation process goes smoothly. First, make sure that you have all the necessary tools, including a screwdriver, grounding strap, and anti-static mat.
This will help to protect your drive from electrostatic discharge which can damage the components. Next, clear a work area on a flat surface to ensure that you have enough space to work with. It’s important to also have enough light to see what you’re doing.
Remember to turn off your computer, unplug all cables, and remove the battery if you’re working on a laptop. By following these steps, you’ll be ready to install your new SSD drive with ease and without any issues. Remember, taking the time to prepare your work area is a small but crucial step in the process of fitting an SSD drive into a bay kit.
Clear a space on a flat surface
When preparing to work on a project, it’s essential to clear a space on a flat surface. Having a designated work area that is free from clutter, distractions, and obstacles can help you stay focused and increase productivity. Whether you’re working on a school project, crafting project, or home renovation, make sure to select a workspace that’s spacious enough to hold all of your materials and tools.
Once you’ve found the perfect spot, clear off the surface and make sure it’s clean and dry. If you’re working on a delicate project or handling hazardous materials, consider covering your workspace with a protective layer such as a mat or tarp. Remember, by clearing a space on a flat surface, you’ll make it easier to work efficiently and keep your work organized.
Assemble your tools
When assembling your tools for a project, it’s important to prepare your work area first. This means ensuring that you have enough space to spread out your materials and that the area is clean and free of clutter. You’ll also want to make sure you have all the necessary tools on hand before beginning.
Depending on the project, this may include things like a hammer, screwdriver, drill, tape measure, and level. By having everything you need nearby and organized, you’ll be able to work more efficiently and avoid unnecessary interruptions. So take a few minutes before starting your project to assess your work area and gather all the tools you’ll need.
With a little bit of preparation, you’ll be ready to tackle any DIY project that comes your way!
Prepare Bay Kit and SSD
If you’re looking to upgrade your computer’s speed and performance, one of the easiest and most effective ways to do so is by fitting an SSD drive into a bay kit. The process is straightforward and doesn’t require much technical knowledge. Firstly, you need to ensure that the bay kit is compatible with your computer.
Once you’ve got the right kit, remove the screws from the existing hard drive and slide it out. Then, prepare the bay kit by attaching the brackets and screws that come with it. Finally, attach the SSD drive to the bay kit and slide it back into place.
Make sure to securely fasten the screws and turn on your computer to ensure that your new drive is recognized. With the right tools and a little bit of patience, you can drastically improve your computer’s performance with a new SSD drive fitted into a bay kit.
Open SSD drive bay kit
If you’re looking to upgrade your computer by adding a new solid-state drive (SSD), you might want to consider getting an open SSD drive bay kit. This kit is designed to make installing an SSD into your computer as easy and straightforward as possible. Before you start, make sure you have the necessary tools and materials – you’ll need the SSD, the drive bay kit, a screwdriver, and possibly some screws.
The first step is to remove the cover of your computer’s drive bay and slide the SSD into the open bay. Make sure the SSD is securely in place, and then use the screws provided with the kit to secure it. Once you’ve done that, you can replace the cover of the drive bay and start using your new, faster SSD! With an open SSD drive bay kit, you can rest assured that your SSD will be installed securely and correctly, giving you the confidence you need to enjoy better performance from your computer.
Place your SSD in the tray
If you’re looking to add a solid state drive (SSD) to your computer, the first step is to prepare the bay kit and the SSD itself. Most SSDs come with a mounting kit that includes a tray to fit your drive into. You’ll want to carefully remove the tray from the kit and locate the screws that came with it.
Make sure to line up the mounting holes on the SSD with those on the tray, and use the screws to secure the drive in place. It’s important to make sure the SSD is snugly fitted into the tray to prevent any movement or vibrations while in use. Once the SSD is securely fastened in its tray, you’re ready to move on to the next step of installing it in your computer.
By following these simple steps, you can easily prepare your bay kit and SSD for installation and get the best performance possible from your new solid state drive.
Secure the SSD in place
When installing an SSD, it’s crucial to secure it in place to prevent any damage or shifting within the device. Firstly, ensure you have all the necessary tools and hardware to prepare the bay kit and SSD for installation. Check the manual of your computer or motherboard to determine the required screws and mounting hardware for your specific device.
Next, attach the mounting hardware to the SSD, making sure it’s firmly in place. Then, place the SSD in the bay kit and attach the screws tightly to secure it. Be sure not to over-tighten the screws as this can damage the device.
Finally, double-check that the SSD is securely mounted before proceeding with any further installations. With these steps, you can rest assured that your SSD is firmly in place and ready to provide lightning-fast performance for years to come.
Install the Bay Kit and SSD
If you’re looking for a way to increase your computer’s storage capacity, fitting an SSD drive into a bay kit is a great option. The process is relatively straightforward and requires just a few tools. To begin, you’ll want to gather what you need, including a bay kit suitable for your computer and an SSD drive in the appropriate size.
Next, you’ll want to find the bay in your computer where you want to install the SSD. Typically, this bay will be located near the hard drive bays, and may require removing a cover or bracket to access. Once you’ve identified the bay, carefully install the bay kit by screwing it in firmly.
Finally, connect the SSD to your computer using the included cables, taking care to ensure everything is securely in place. With the installation complete, you’ll enjoy faster boot times and improved storage capacity that will make your computer run better than ever before. So, don’t be intimidated by this process, with a little time and effort, you’ll be able to install an SSD drive in a bay kit in no time!
Fit the bay kit into your PC
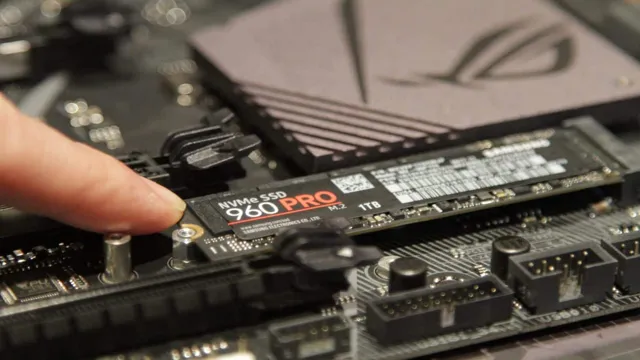
If you’re looking to upgrade your PC’s storage, installing an SSD is the perfect solution. One of the best ways to do this is by using a bay kit, which provides a simple and efficient way to install your new drive. Begin by opening your computer case and locating an available drive bay that aligns with your Bay Kit’s dimensions.
Then, carefully insert the bay kit into the drive bay and secure it with screws or other hardware provided with the kit. Next, remove your new SSD from its packaging and slide it into the bay kit until it clicks into place. Make sure to connect the SATA data and power cables securely to both the SSD and your motherboard.
Finally, close your computer case, power it on, and confirm that your system is recognizing the SSD. With this straightforward method, you can quickly and easily transform your computer’s storage capabilities.
Connect the cables
Now that you’ve got your hands on an SSD, it’s time to install it into your PC using a Bay Kit. Before anything else, make sure your system is shut down, and you’ve unplugged all cables. Next, locate the Bay Kit and carefully open it up.
You’ll see a bracket inside that can be used to secure the SSD in place once you’ve installed it. You’ll also find some cables that you’ll need to connect to your motherboard. These cables should be labeled, so make sure you read them carefully and connect them to the correct ports.
Remember, taking your time and being careful is essential at this stage. Rushing can lead to damage to your new hardware or even worse your motherboard. Once you’ve connected the cables, you’ll need to plug them into the power supply.
After this, attach the bracket to your SSD, then slide it into the Bay Kit and secure it in place. Lastly, you’ll need to reattach any cables you may have disconnected earlier. Once everything is plugged in and secured, you can turn your system on and double-check that everything is functioning correctly.
Congratulations, you’ve successfully installed your new SSD, and it’s now ready to use!
Test the SSD and Celebrate
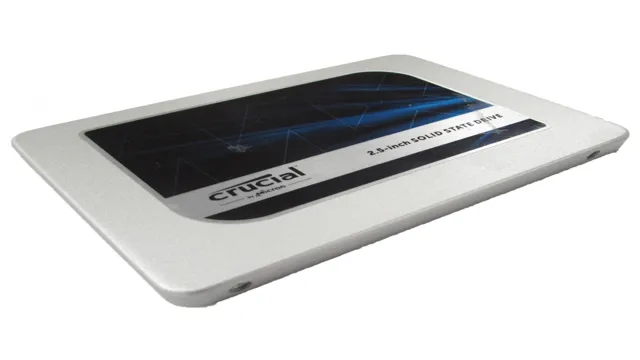
So, you’ve got your Crucial SSD and the how-to-fit-SSD-drive-into-bay-kit. Now it’s time to put them to the test and celebrate! First, make sure you have the right tools before removing the hard drive from your laptop or desktop. Then, secure the mounting bracket to your SSD and slide it into the drive bay, using screws to fix it in place.
Next, connect the SATA and power cables to the SSD and secure the drive bay. Congratulations! You’ve successfully installed your SSD. Now it’s time to run some tests and see just how much faster your computer can be.
Utilize free benchmark programs like CrystalDiskMark, AS SSD Benchmark or Anvil’s Storage Utilities to compare your read and write speeds before and after the installation. You’ll be amazed at the difference a high-quality SSD can make. Best of all, you’ll be able to celebrate with lightning fast boot times, increased overall system performance and faster application launches.
The Crucial How to Fit SSD Drive into Bay Kit ensures you get the most out of your investment.
Conclusion
In conclusion, fitting an SSD drive into a bay kit may seem like a daunting task, but it’s not rocket science. With the right preparation, tools, and a little bit of patience, you’ll be able to slide that drive into its new home with ease. Just remember, an SSD drive can give your computer a significant speed boost, so investing the time and effort into fitting it properly is crucial.
Plus, if all else fails, you can always consult the instruction manual or call in a tech-savvy friend for assistance. Happy fitting!”
FAQs
What is SSD Drive Bay Kit?
SSD Drive Bay Kit is a device that helps in connecting SSD hard drives to your computer’s motherboard. It also provides support to mount SSD drives inside the computer case.
How do I know which SSD Drive Bay Kit is compatible with my computer?
Check your computer motherboard’s specifications to ensure compatibility with the SSD drive and SSD Drive Bay Kit dimensions. You can then buy the SSD Drive Bay Kit with the right dimensions, mounting options (2.5 inches or 3.5 inches), and compatible connection interfaces (USB, SATA, or NVMe).
Is it necessary to use a SSD Drive Bay Kit to mount an SSD hard drive?
It is not necessary to use an SSD Drive Bay Kit, but it makes the installation process easier and more secure. If you want to install your SSD without a kit, you will need to use screws or other mounting hardware to connect it to the computer case.
How do I install an SSD Drive Bay Kit?
First, you need to open your computer case and locate the drive bay where you want to install the SSD drive. You can then mount the SSD Drive Bay Kit, connect the power and data cables, and secure the SSD drive into the drive bay kit. Finally, power on your computer and check if the SSD drive is recognized.